
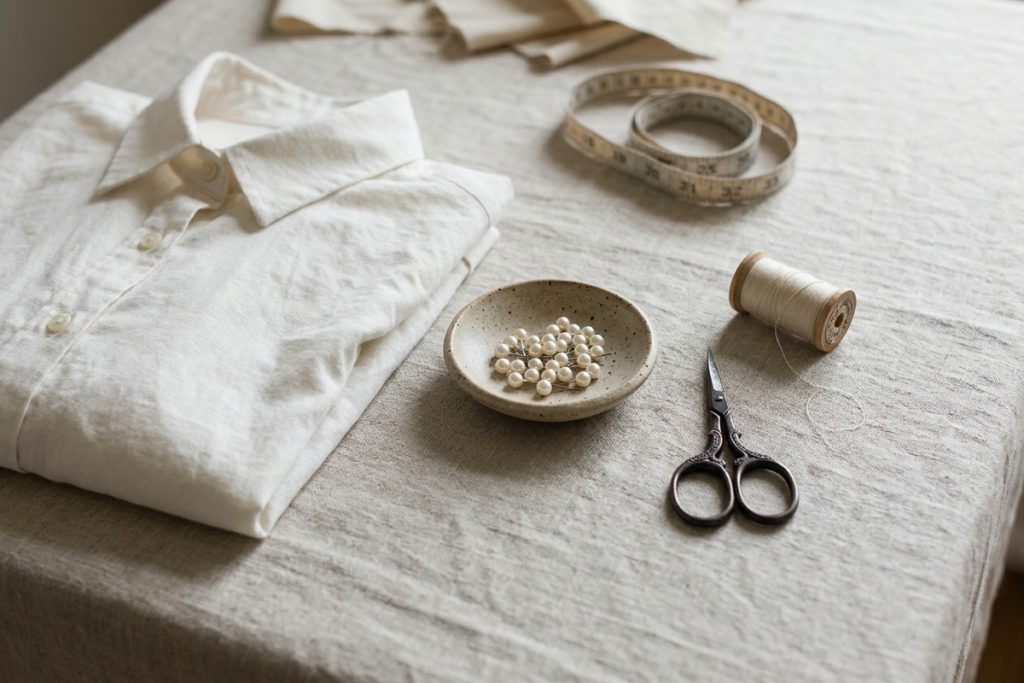
Quick answer: To stop a shirt from gaping, first check whether the fabric pulls tightly across your chest or whether the opening appears mainly between buttons. For a small gap, try a no-sew modesty button or clothing tape. A hidden snap or an extra button can offer a more lasting fix. If the shirt feels tight even when the gap is held closed, a fit adjustment may be the better answer.
You put on a shirt that looks fine in the mirror, reach for your bag, and the front opens between two buttons. Sometimes the gap disappears when you stand still. Sometimes it is there the whole time.
Before reaching for a needle, button the shirt and try sitting down, leaning forward and moving your arms. The way the fabric behaves will help you choose a fix that is comfortable as well as discreet.
At a Glance
- For a quick, removable fix: Try a no-sew modesty button.
- For a temporary, hidden fix: Use clothing tape suitable for the fabric.
- For a discreet sewn closure: Add a small sew-on snap inside the placket.
- For a matching visible closure: Add a button and buttonhole between the existing ones.
- For a shirt that feels tight: Consider an alteration or a different fit.
Why Does a Shirt Gape Between the Buttons?
A shirt can gape because there is too much distance between fastenings, because the garment is tight across the chest, or because both are happening at once.
Look at the placket—the strip of fabric where the buttons and buttonholes sit. If the shirt feels comfortable and the placket closes easily when you hold it together, an extra fastening may be enough. If you see horizontal pulling lines across the chest or have to tug the edges together, the garment may need more room.
Button placement can make a difference, too. A fastening positioned close to the fullest part of the chest may help keep the edges together, while a wide gap between buttons can leave that area unsupported.
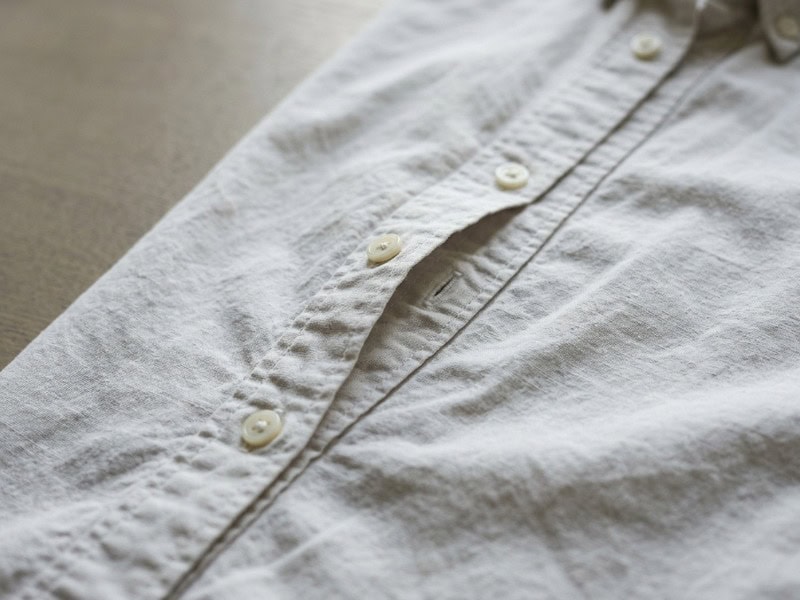
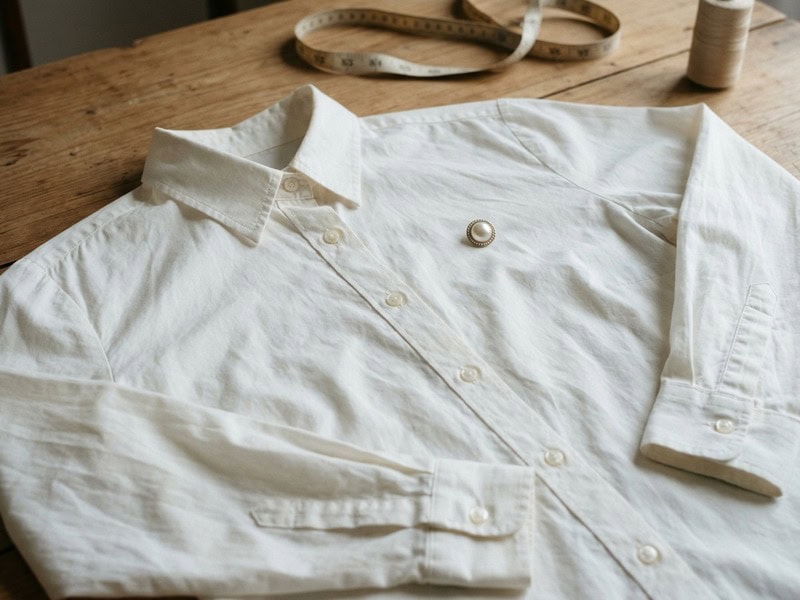
1. Can a No-Sew Modesty Button Close the Gap?
A removable modesty button can hold the overlapping edges together without adding a permanent buttonhole. It is useful when the shirt otherwise fits comfortably and you want a quick fix.
Try on the shirt and note where the gap appears as you move. Take the shirt off, then position the fastener at that point according to its instructions. Check that the layers sit naturally rather than pulling one side out of line. Put the shirt back on and test the closure while sitting and reaching forward.
Our no-sew modesty buttons include decorative faux pearl and flower styles. The exact attachment should be checked on the product you receive before use. If it has a pin, make sure the point is fully secured and keep it away from skin; avoid delicate fabrics that may show puncture marks. Remove it before washing.
2. Does Clothing Tape Work for a Gaping Shirt?
Clothing tape can keep the edges together for a few hours, particularly when you want a hidden, temporary solution.
Choose double-sided tape intended for clothing and check its instructions. Place it on the inside of the overlap, on clean, dry fabric. Press the two layers together without stretching them, then move around to see whether they stay in place.
Test a small inconspicuous area first, especially on silk or other delicate fabric. Adhesive may leave residue or affect a finish. Remove the tape before washing, and do not rely on it to make a shirt that is too tight feel comfortable.
3. How Do You Add a Hidden Snap?
A small sew-on snap can hold the placket closed without adding a visible button to the front. It is a good option for a shirt you wear often, provided the placket has enough fabric to support it.
- Put on the shirt and mark the point where the gap opens with removable tailor’s chalk or a small piece of removable tape. Take the shirt off before sewing.
- Lay the placket flat with the two edges overlapping in their normal position. Mark matching points on the inside of the two layers.
- Sew one half of a small snap to the inside of each layer. Catch the placket layers carefully, keeping stitches discreet on the front where possible.
- Fasten the snap, then try the shirt on. If the placket twists or pulls, adjust the placement before wearing it out.
Choose a snap that suits the weight of the fabric. A bulky or stiff fastening can show through a fine blouse. Reinforce a weak area if needed, and test on a scrap first if the fabric is delicate.
For a thicker shirt or overshirt where you would like the fastening to be part of the design, our decorative metal snap buttons are another option. They have a domed face, so they are not the same as a small hidden snap. Check the size and weight against your fabric before choosing them.
4. Can You Add Another Button and Buttonhole?
Yes. An extra button and buttonhole can make the front look like part of the original design, but placement matters more than matching the color alone.
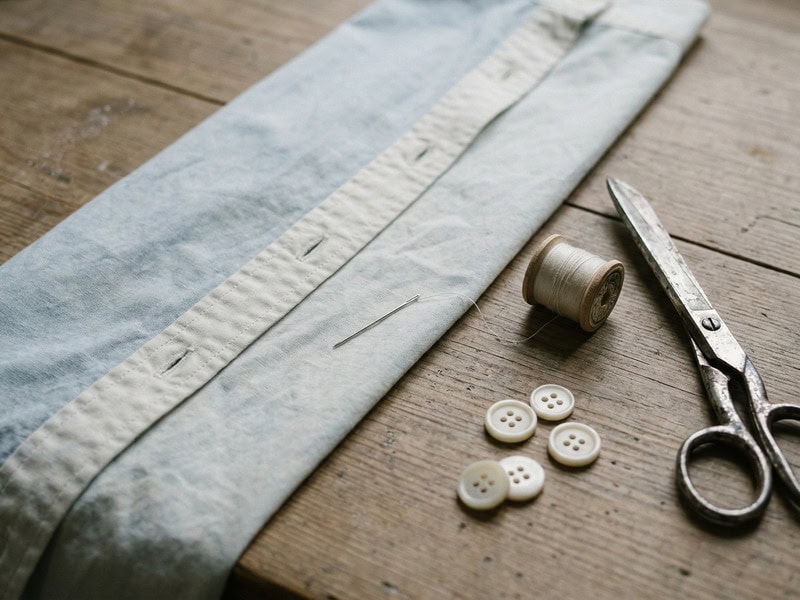
Mark the gap while wearing the shirt, then take it off. Lay the front flat and check that the proposed button and buttonhole will align when the placket is closed. Before cutting, make sure there is enough fabric and space for the buttonhole; if you are unsure, a tailor can help.
Use a button close in diameter, thickness and appearance to the existing ones. Check for a spare inside the lower placket or near the care label. If there is no match, our guide to finding replacement buttons has practical ways to match an existing set.
If you decide to replace the full row, our natural shell sewing buttons come in several sizes, while the 11mm square resin buttons offer a different shape and a choice of colors. Test the size and thickness against the existing buttonholes before ordering; a square button may fit differently from a round one.
A new buttonhole is difficult to undo. Test your machine setting on a scrap of similar fabric before working on the shirt, or ask an alterations professional to do it. Our button-sewing guide covers attaching the button once the position is right.
5. When Is an Alteration the Better Fix?
An alteration is worth considering when the shirt pulls across the chest even with the placket held closed. Adding a snap may hide the opening, but it does not create more room in the garment.
A tailor can assess whether the seams have enough allowance to let the shirt out or whether another adjustment is possible. Not every shirt has spare fabric at the seams. If there is no room to alter it, trying a different cut or size may be more comfortable.
Bring the shirt and any undergarment you normally wear with it to the fitting. Sit down and move your arms before the alteration is finalized; a shirt that closes comfortably only while you are standing still is not quite there yet.
Which Fix Should You Choose?
| If your shirt… | Try… | Keep in mind |
|---|---|---|
| Fits comfortably but opens between buttons | A modesty button | Check the attachment and remove before washing. |
| Needs a discreet fix for one occasion | Clothing tape | Test the fabric and remove the tape before washing. |
| Fits well and is worn often | A hidden sew-on snap | Use a size the placket can support. |
| Needs an extra visible closure | An added button and buttonhole | Match the placement and test before cutting. |
| Pulls tightly across the chest | An alteration or different fit | An extra fastener cannot add fabric. |
Frequently Asked Questions
Can I stop a shirt from gaping without sewing?
Yes. A removable modesty button or clothing tape may work for a small gap. Follow the product instructions and test the fabric first.
Will moving a button fix a gaping shirt?
It may help if the button is slightly out of alignment, but moving it can also change how the whole placket sits. Mark and test the position before removing the original. If the shirt is tight, changing the button position alone is unlikely to solve the fit.
Can I use a safety pin?
A safety pin can be a temporary option, but the point must be fully closed and positioned away from skin. Pins can leave marks in delicate fabric, so test an inconspicuous area and remove the pin before washing.
Will a larger button stop the gap?
Not necessarily. A larger button might stay in a loose buttonhole, but it will not close an opening between two fastenings or add room to a tight shirt. Test any replacement against the existing buttonhole before sewing it on. Our button size guide explains what to measure.
What if the shirt only gapes when I sit down?
Check where the fabric pulls while seated. A small opening between buttons may respond to an added closure; tightness across the chest or waist may call for a fit adjustment. Try the fix in the positions you actually wear the shirt in.
Rule of Thumb
If the placket comes together easily, try an extra fastening. If you have to pull the fabric together, look at the fit first.
Where Can You Find Modesty Buttons?
For a removable option, browse our modesty buttons for shirts and blouses. Check the fastening, design and quantity on the product page before ordering, and choose a style that suits your fabric.
Can You Order Buttons in Bulk?
Shancco welcomes bulk inquiries from boutiques, tailors and clothing businesses. Tell us which style and quantity you need, and ask about availability and terms for your order through our wholesale inquiry page.